How do I set up parent/child feeds for a central leasing office using Yardi?
Setting up parent/child feeds using Yardi requires configuring settings on both Yardi Voyager and Yardi RentCafe:
- Yardi Voyager
- Creating a Property List
- Configuring Admin Permissions
- ILS & Guest Card Configuration
- Yardi RentCafe
- Parent Property List Setup
- Child Property Setup
Yardi Voyager Configuration
Creating a Property List
- Navigate to the Yardi Voyager portal and log in to your account.
- Select Property then Add Property List in the left navigation dashboard.
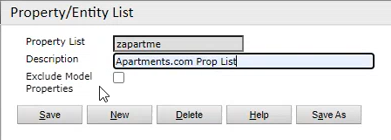
- Enter "zapartme" in the Property List field.
- Enter Apartments.com Prop List in the Description field.
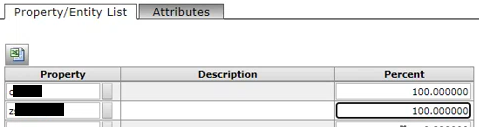
- Verify the Property/Entity List tab is selected.
- Enter the child property code you want to syndicate in a Property field and set the row to 100%.
- Enter the parent property list code you want to syndicate in the following Property field and set the row to 100%.
- Select Save to create your Apartments.com property list.


The Property/Entity List page appears.
Configuring Admin Permissions
- Select Roles then Administration in the left navigation dashboard.
- Select Add Users under the Security options.
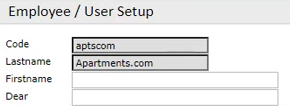
- Enter Apartments.com user information in the User Setup fields.
- Enter "aptscom" in the Code field.
- Enter "Apartments.com" in the Lastname field.
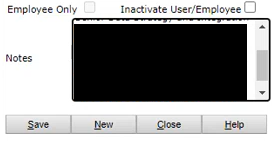
- Enter any additional contact information in the Notes field.
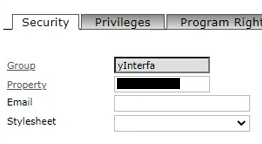
- Enter "yInterfa" in the Group field under the Security tab.
- Enter "zapartme" in the Property field under the Security tab.
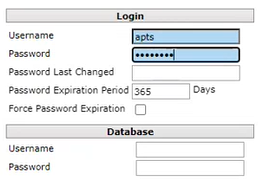
- Enter a username and password for your Apartments.com account.
- Select Save to save your progress.
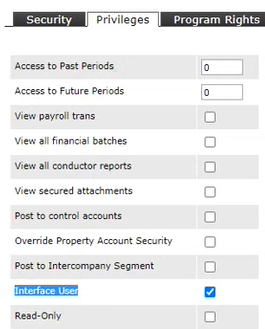
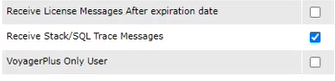
- Select the Privileges tab then select the Interface User and Receive Stack/SQL Trace Messages checkboxes.
- Select Save to save your progress.
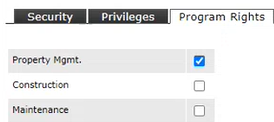
- Select the Program Rights tab then select the Property Mgmt. checkbox.
- Select Save to save your progress.
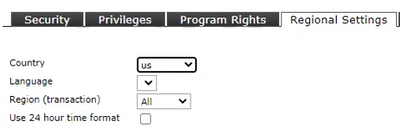
- Select the Regional Settings tab and select ca under the Country dropdown.
- Select Save to finalize your Apartments.com admin permissions.
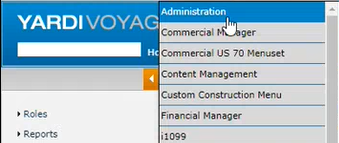
The System Administration page appears.
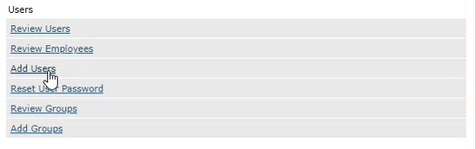 The Employee / User Setup page appears.
ILS & Guest Card Configuration
- Select Setup, navigate to Property, and then Review Property List in the left navigation dashboard.
- Enter the property code from your created property list and select Submit.
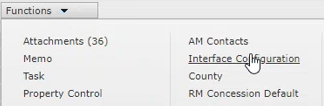
- Select the Functions dropdown and then select Interface Configuration.
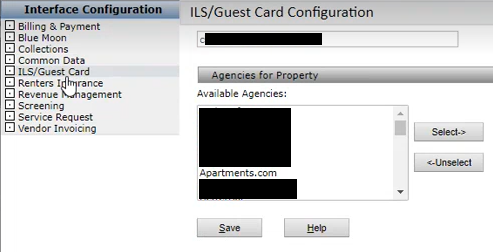
- Select the ILS/Guest Card button under the Interface Configuration navigation.
- Select Apartments.com under Available Agencies and select the Select-> button. Apartments.com is added to your property’s agencies.
- Select Save to finish the configuration.

The Property page appears.
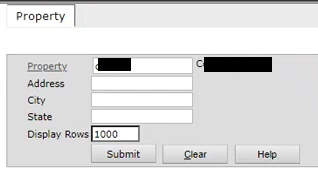
The Property Details page appears.
 A Screening Configuration pop-up appears.

Yardi RentCafe Configuration
Parent Property List Setup
- Navigate to the Yardi RentCafe portal and log in to your account.
- Select the Company tab in the top navigation.
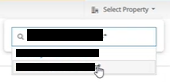
- Select the search box in the top right of the Company Information page, search for the name of your parent property, and select it from the results.
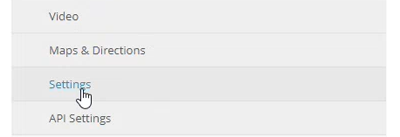
- Select the Settings tab under the Property Configuration left navigation dashboard.
- Select the General Settings tab under the Apartment Search Settings.
- Enter the parent property list ID associated with your central leasing office in the PM Database Property ID field.
- Select Save Changes at the bottom of the page.
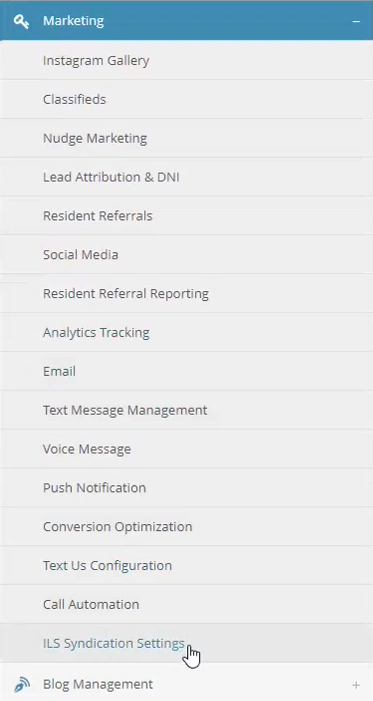
- Select the Marketing dropdown under the Property Configuration dashboard and then select the ILS Syndication Settings tab.
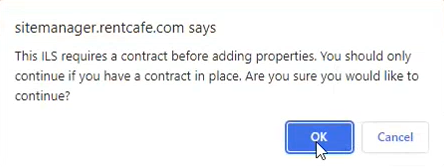
- Navigate to and select the checkbox on the Apartments.com ILS row. A pop-up appears.
- Select OK to continue and then select Save Changes at the bottom of the ILS Syndication Settings page.
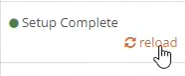
- Navigate to the Apartments.com ILS row and select the Reload button.
- Select Save Changes at the bottom of the page.
The Company Information page appears.
The Property Information page appears.
The Property Settings page appears.


Your parent property listing information is sent to Apartments.com for verification.
Child Property Setup
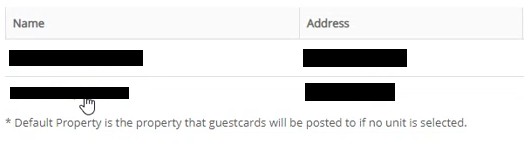
- Select the Properties button under the Property Configuration dashboard of your parent property. The Property List page appears.
- Select the child property you want to syndicate.
- Select the Marketing dropdown under the Property Configuration dashboard and select the ILS Syndication Settings tab.
- Navigate to and select the checkbox on the Apartments.com ILS row. A pop-up appears.
- Select OK to continue and then select Save Changes at the bottom of the ILS Syndication Settings page.
- Navigate to the Apartments.com ILS row and select the Reload button.
- Select Save Changes at the bottom of the page.
- Repeat this process for each child property.
The Property Information page appears.
Your child property listing information is sent to Apartments.com for verification.