How do I upload and edit unit-level media on my listing?
Editing 3D Tours
- Log into your Apartments.com Rental Manager account. The Properties page appears by default.
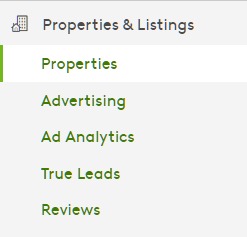
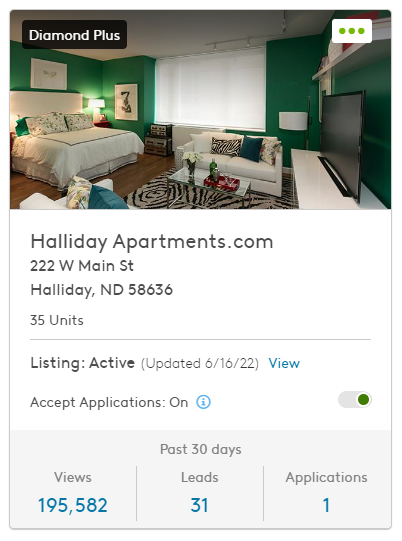
- Navigate to the property where you want to upload a 3D tour and select it. The property page appears.
- Select the Media tab and then select the 3D Tours button.

- Select Edit on the tour you want to edit. An Edit 3D Tour pop-up appears.

- Select which level you want to display your tour on:
- Community - This level contains media that showcases your property as a whole and all the amenities you have to offer.

- Model - This level contains media that showcases a layout or floorplan. Verify that the correct bedroom number and model name are selected.

- Unit - This level contains media that showcases a specific unit. Verify that the correct bedroom number, model name, and unit number are selected.

- Verify the 3D tour thumbnail is correct. Select Change to upload a new image. Select Remove to delete the existing image if necessary.


- Verify your tour has a descriptive caption.

- Select Save to finalize the editing process and return to the 3D Tours page.
Organizing 3D Tours
- Select and drag any tour to change the order it appears on your property listing.

- Select the toggle button on any tour to disable or enable it.

- Select the Show: dropdown to filter the type of tours you want to see.

Uploading Videos
- Log into your Apartments.com Rental Manager account. The Properties page appears by default.
- Navigate to the property where you want to upload a video and select it. The property page appears.
- Select the Media tab and then select the Videos button. Select Upload. An Upload Video pop-up appears.

- Select Upload in the File Upload box. A pop-up window appears. Navigate to and select your video to upload it.

- Enter a descriptive caption of your uploaded video in the Caption field.
- Select which level you want to display your video on:
- Community - This level contains media that showcases your property as a whole and all the amenities you have to offer.

- Model - This level contains media that showcases a layout or floorplan. Verify that the correct bedroom number and model name are selected.

- Unit - This level contains media that showcases a specific unit. Verify that the correct bedroom number, model name, and unit number are selected.

-
Select Done. Your video is added to your property listing.


Editing Videos
- Select the Edit button under the video you want to edit. An Edit Video pop-up appears.

- Verify your video has a descriptive caption.

- Verify your video is being displayed on the proper level (Community, Model, or Unit-level).
- Select Save to finalize the editing process and return to the Videos page.
Organizing Videos
- Select and drag any video to change the order it appears on your property listing.

- Select the toggle button on any video to disable or enable it.
- Select the Show: dropdown to filter the type of videos you want to see.
